.jpg)

Travel Photos Need Continuity
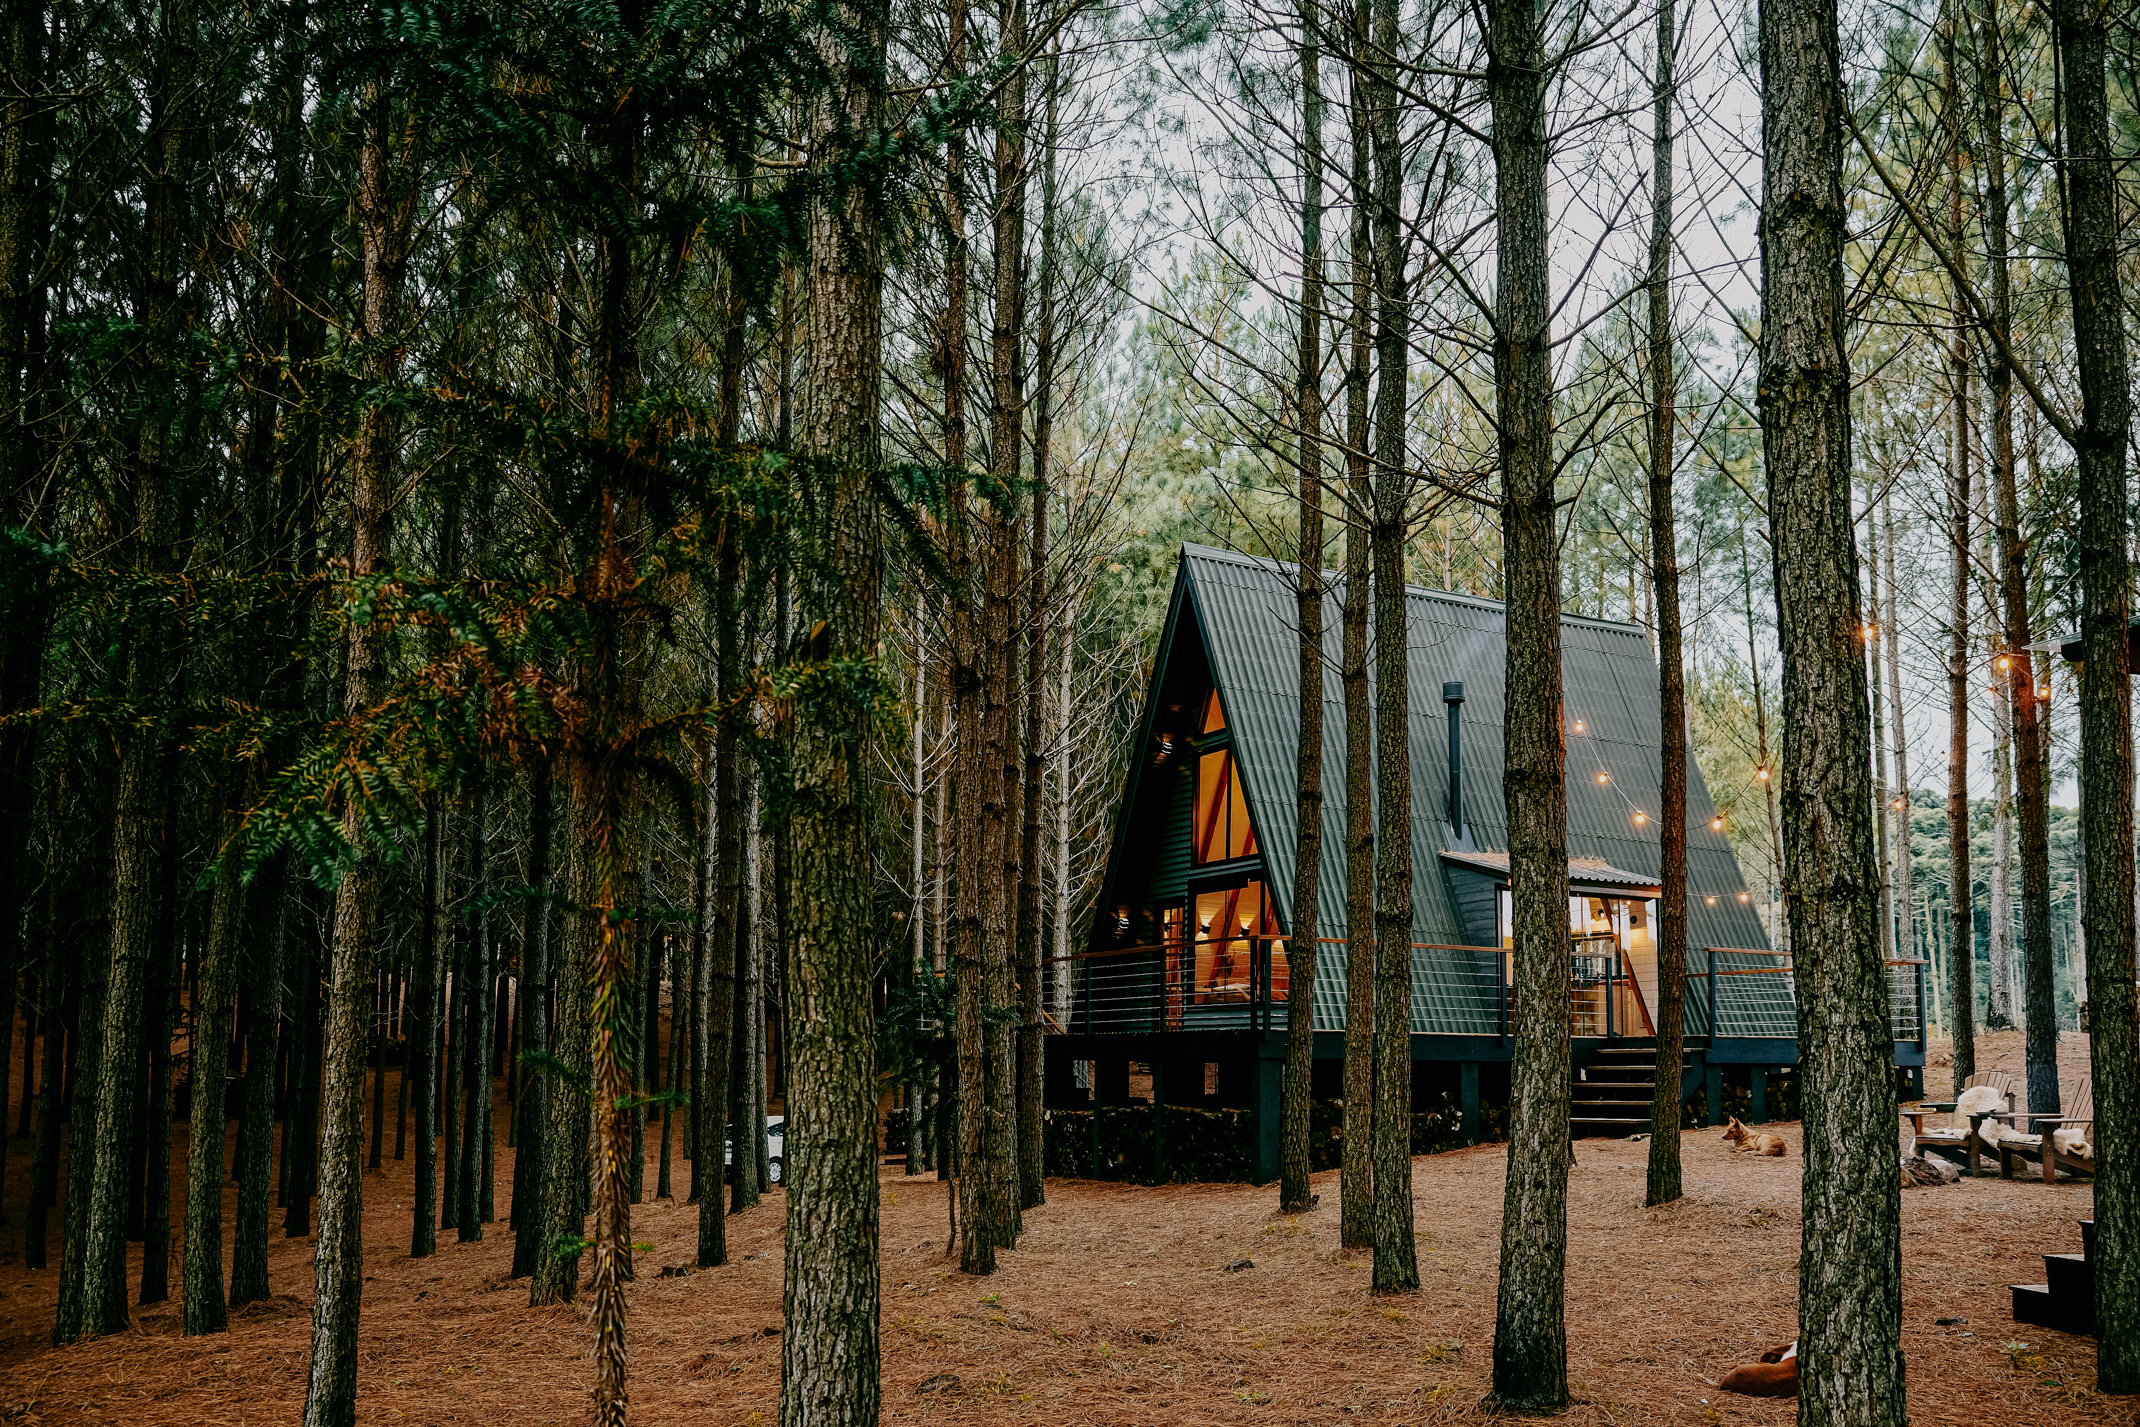
Travel photography creates a problem that is easy to miss until you are deep in the edit. The locations change. The light changes. The colors change. One image comes from early morning on a trail, another from harsh midday sun, another from camp at dusk, another from the side of a road where the sky suddenly decided to be interesting.
Individually, the photos may work. Together, they can feel like they came from five different photographers with unresolved creative differences.
That is where editing matters. Travel photos need continuity. They need a visual thread that helps the viewer move from place to place without feeling like the story breaks every time the light changes. The goal is not to make every location identical. The goal is to make the collection feel like one journey.
Overlanding Taught Me This the Hard Way
Overlanding and offroad travel make this especially clear. You start early in the morning on the trail when the light is cool and quiet. The truck is loaded, coffee is somewhere within reach, and everything feels full of possibility. By midday, the sun is high and harsh, the dust is on everything, and the landscape has changed its mind entirely. By evening, the shadows stretch out, the sky warms up, and the whole day feels like it belongs to a different film.
I love that kind of work because it is not controlled. The trail gives you what it gives you. Weather shifts. Light moves. Dust hangs behind the truck. The same place can feel completely different by the hour.
But when you edit the collection, you still need a through line. The viewer should feel the progression of the day without feeling like every image belongs to a separate brand.
Choose What Stays Consistent
The first step is deciding what parts of your style should remain stable. It may be your contrast. It may be the way you handle greens, skin, sky, warmth, shadows, or grain. It may be a general level of saturation or a preference for natural color. Whatever it is, your travel edits need a few anchors.
Without anchors, every location starts making decisions for you. A desert scene pulls you warm. A forest pulls you green. A city pulls you contrasty. A beach pulls you bright. Before long, the collection has no center.
Consistency does not mean ignoring the location. It means knowing which pieces of your visual language travel with you. The environment can change. Your eye should still be recognizable.
Let Each Place Keep Its Own Character
The danger on the other side is making every place feel the same. Some creators build such a rigid editing style that the mountains, coast, city, forest, desert, and campsite all get pressed into one color palette. The work becomes consistent, but it loses curiosity.
Travel photography should preserve difference. A foggy morning should not look like a dry afternoon. A red dirt road should not be forced into the same tones as a green alpine trail. A city night should not be treated like a bright overlook. The place has a voice too.
A strong edit holds both: your consistent visual thread and the specific character of the location. That balance is what makes a travel body of work feel personal instead of generic.
Control White Balance Across the Story
White balance is one of the fastest ways a travel set falls apart. Morning images may be cool. Midday images may feel harsh. Evening images may go warm. Interiors, tents, cabins, headlights, campfires, and gas station snacks under fluorescent lights can all create their own little color disasters.
You do not need every image to have the same white balance, but the set should feel intentional. Warmth should feel like part of the story, not an accident. Coolness should feel like atmosphere, not inconsistency.
When editing, compare images side by side. Look for jumps that feel distracting. If one image is dramatically warmer or cooler than everything around it, ask whether the story supports that shift. Sometimes it does. Sometimes the file simply needs to be brought back into the same visual world.
Use Presets to Build a Base, Then Adjust for Reality
Travel presets are useful because they give mixed conditions a common starting point. They can establish contrast, color tone, shadow depth, and overall mood before you begin adjusting individual images. That saves time, especially when you are working through a large set from different places.
But travel work demands adjustment. A preset that works beautifully on golden-hour mountain images may need help with midday desert light. A look that handles forest greens well may need refining on a city street. A campfire scene may need a completely different touch while still staying connected to the rest of the collection.
The preset gives you the base. Your eye keeps the work honest. That partnership is where consistency becomes useful instead of mechanical.
Edit for the Journey, Not Just the Best Frame
A travel collection is not only a group of strong images. It is a sequence. The viewer should feel movement: the beginning, the road, the stop, the climb, the dust, the quiet, the weather, the arrival, the evening light.
That means you have to review the work as a body. Do the images feel connected? Does the color carry through? Does the contrast change too much? Are the strongest individual edits helping the story, or are they pulling attention away from the collection?
The best travel edits make different places feel connected without making them interchangeable. They let the road change, the light shift, and the story move, while still leaving the viewer with the sense that one person saw it all and knew how to carry it home.
Use Anchor Images to Hold the Set Together
When editing a travel collection, choose a few anchor images. These are the frames that define the visual direction of the set: maybe the early trailhead image, the truck in dust, the camp scene, the best landscape, and one human moment. Edit those first with care.
Once the anchor images feel right, use them as reference points for the rest of the collection. Do the other images belong near them? Are the colors drifting too far? Is the contrast consistent enough? Are the warm images still connected to the cooler ones? This gives the edit a center.
Anchor images help because travel sets can get overwhelming. When the light changes all day, the edit needs a few fixed stars. Without them, you may keep making individual decisions that feel fine alone but weaken the story together.
Do Not Edit the Adventure Out of the Work
Travel and adventure photos should still feel like movement. Dust, weather, imperfect roads, shifting light, and tired faces can all be part of the story. If you polish the entire collection until it feels too clean, you may remove the very things that made the trip worth documenting.
This matters in overlanding especially. The truck should feel like it has been somewhere. The trail should have texture. The light should change. The collection should carry evidence of a real day outside, not just a brand mood board pretending to have dirt on its boots.
Consistency should not make the adventure sterile. It should help the viewer follow it.
Keep the Viewer Moving Through the Set
Travel editing is partly about momentum. The viewer should feel like they are moving through the day with you: leaving early, hitting the trail, stopping for the view, dealing with harsh light, finding shade, setting up camp, and watching the evening settle in. The edit can either support that movement or interrupt it.
If each image has a completely different color mood, the viewer has to reorient every few seconds. If every image is forced into the same exact treatment, the trip starts to feel lifeless. The middle path is where the work gets stronger: enough consistency to hold the set together, enough variation to let the journey feel real.
That is the balance travel photographers are always chasing.
Let the Edit Carry the Same Traveler
A connected travel set should feel like the same person kept noticing the world. That is the quiet thread. The road changes, the weather changes, the light changes, but the eye behind the camera remains consistent. Your edit should help the viewer feel that continuity. It should say, without announcing it, that one creator moved through these places and carried them home with the same sense of color, attention, and care.