


How to Build a Preset and LUT Workflow Across Photo and Video
More creators are living in both worlds now.
They shoot the stills and the reel. The gallery and the short film. The YouTube thumbnail and the video. The product images, the launch trailer, the behind-the-scenes clips, the website hero shot, and the vertical edit that somehow needs to feel native to every platform even though each platform behaves like it was designed by a committee of caffeinated raccoons.
That hybrid reality creates a visual problem.
Your photos can look polished, warm, and natural while your video looks moody, green, and vaguely haunted. Your footage can feel cinematic while the stills look like they belong to a different brand. The audience may not know the technical reason, but they feel the disconnect.
A preset and LUT workflow helps solve that.
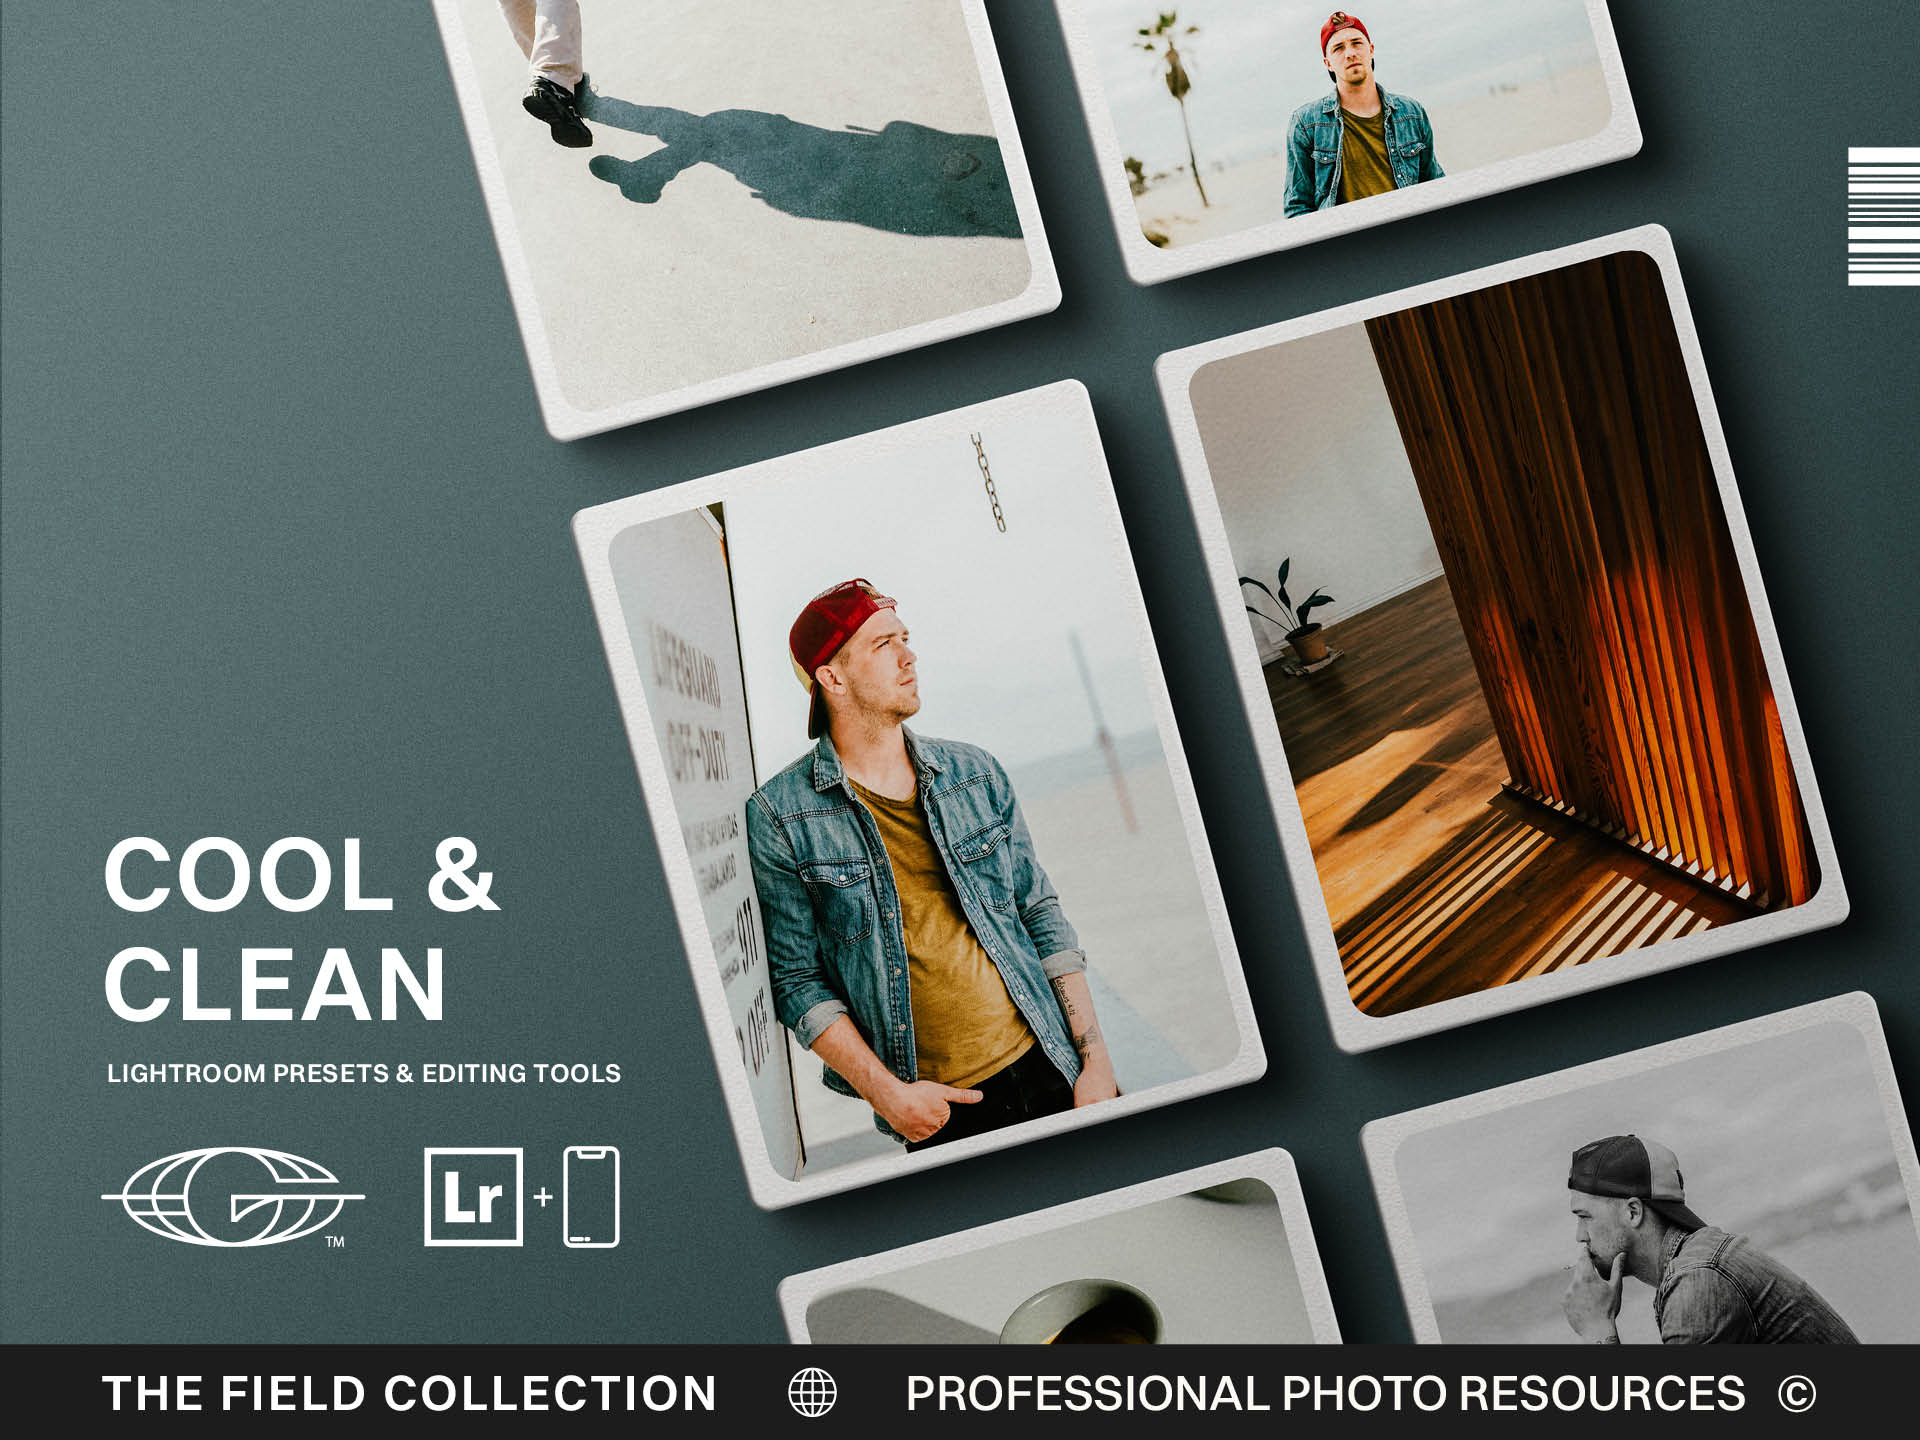
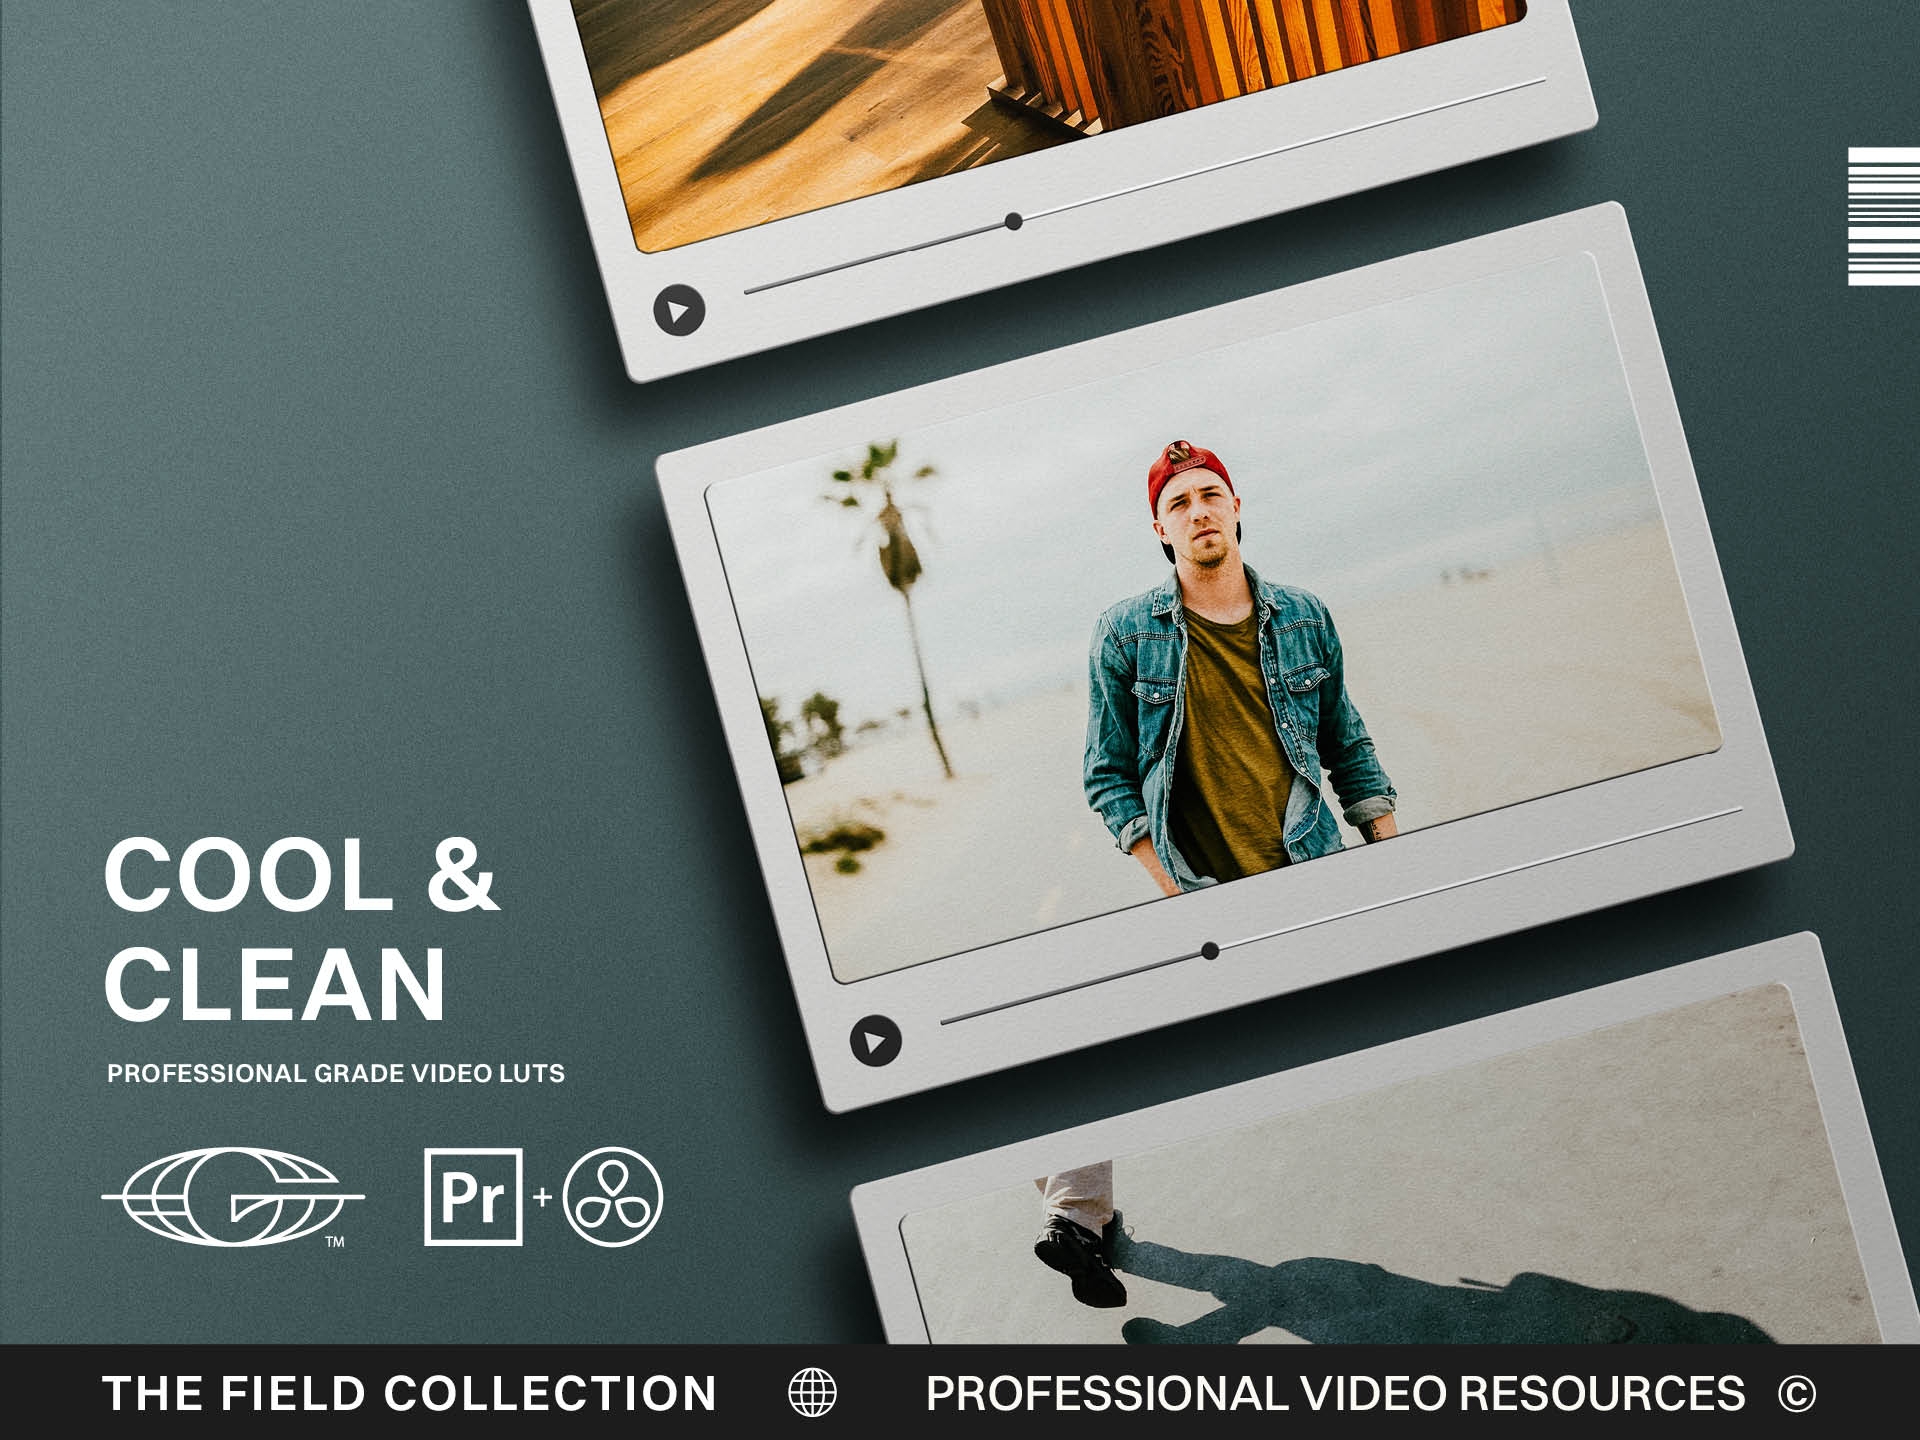
Presets are built for photo editing. LUTs are built for video color. When they share the same visual philosophy, they help your work feel connected across mediums.
They are not meant to create identical files.
They are meant to create the same emotional experience.
Start With the Visual Language
Before choosing tools, decide what your visual language is trying to communicate.
Do you want the work to feel natural and warm? Clean and polished? Moody and cinematic? Rugged and outdoor? Film-inspired and nostalgic? Bright, airy, and romantic? The tools should support that direction, not invent it for you.
This matters because photo and video respond differently. A Lightroom preset may shape a RAW file with flexibility that video footage does not have. A LUT may push color in a way that looks beautiful in motion but too strong when imagined as a still. If you start with the tool instead of the visual language, you may end up chasing looks instead of building consistency.
A shared visual language gives you a north star.
It tells you how warm the work should feel, how deep the shadows can go, how natural the greens need to stay, how much contrast belongs in the image, and whether grain or film character supports the story.
Once that language is clear, presets and LUTs become translators.
One translates the visual direction into photos. The other translates it into video.
Use Presets for the Photo Base
Your photo workflow should begin with a preset that creates the right starting point.
That might mean a clean base for portraits, a warmer outdoor look for landscapes, a cinematic style for visual storytelling, or a seasonal look that adapts to changing light. The preset gives your images consistency before you start refining individual frames.
From there, adjust exposure, white balance, skin tones, highlights, shadows, and local details. This is where the photographer’s judgment matters. A preset can establish the direction, but it cannot know the exact light, subject, or emotional weight of the image in front of you.
If you are building a hybrid workflow, keep track of what the preset does well. Does it create warmer highlights? Does it deepen shadows? Does it protect greens? Does it add grain? Does it make skin feel natural? Those qualities need to be echoed, not copied blindly, in the video workflow.
A photo preset is not only a tool for editing stills.
It is a clue to your broader color system.
When the stills feel right, study why. That understanding will help you choose or adjust the LUT for video.
Use LUTs for the Video Direction
Video needs a different kind of color control.
A LUT remaps colors and tones so your footage moves toward a consistent look. It can add warmth, depth, contrast, color separation, or film-like character across clips. This is especially helpful when you are editing a sequence, not just one frame.
But a LUT should not be slapped onto footage like a sticker.
Correct the footage first. Get exposure and white balance into a usable place. Make sure skin tones are not already in trouble. Then apply the creative LUT and adjust intensity as needed.
A LUT that looks great on one clip may need to be pulled back on another. That is normal. Video has motion, changing light, and transitions between shots. The goal is not to make every clip identical, but to make the sequence feel like one visual world.
When building a photo and video workflow, choose LUTs that share the same philosophy as your presets. If your still images are natural and warm, your video should not suddenly become cold and aggressive. If your brand is cinematic and moody, your photos should not look bright and corporate unless there is a clear reason.
The audience should feel continuity.
Build a Matching Review Process
The biggest mistake hybrid creators make is reviewing photos and videos separately.
The photo gallery looks good. The video edit looks good. But when they appear together on a website, social feed, product page, or campaign, something feels off.
Review them side by side.
Look at a thumbnail next to the reel. Put website images beside the video still. Compare skin tones, shadows, highlights, skies, greens, warmth, and contrast. Ask whether the work feels connected, even if the medium is different.
This is especially important for creators building a brand. Your audience may encounter your work through a photo on Instagram, a short video on TikTok, a YouTube thumbnail, a product page, and a newsletter header. They are not thinking, “Ah yes, different color pipelines.” They are deciding, often subconsciously, whether the work feels coherent.
A matching review process helps catch drift.
Maybe the video LUT is too intense. Maybe the photo preset is too warm. Maybe the stills need more depth. Maybe the footage needs less contrast. The goal is not perfection. The goal is recognizable alignment.
That alignment builds trust.
Keep Room for Medium-Specific Differences
Photo and video should feel connected, but they do not have to match perfectly.
A still image can hold a stronger contrast choice because the viewer has time to sit with it. Video may need smoother transitions because the eye moves through a sequence. Grain may feel beautiful in a photograph but too noisy in moving footage if handled poorly. Skin tones may require slightly different adjustments in each medium.
That is fine.
Consistency is not sameness.
The emotional experience should match, but the technical expression can adapt. Your photo preset and video LUT should feel like siblings, not clones created in a suspicious laboratory.
This is where taste matters. Use the shared visual language as the guide, then adjust for the medium. Let the still image be a still image. Let the footage move. Let the tools support each format without forcing one to behave like the other.
The best hybrid workflows respect the difference while maintaining the through line.
Build a Workflow You Can Repeat
A preset and LUT workflow is most useful when it becomes repeatable.
Start with capture. Expose intentionally. Pay attention to white balance. Shoot in a way that gives your editing tools enough information to work with. Then move into your photo workflow: apply the preset, correct the image, refine the style, review the set.
For video, correct the footage, apply the LUT, adjust intensity, refine skin and contrast, then review the sequence. After that, compare the photo and video outputs together.
This does not need to be complicated. It needs to be consistent enough that you can return to it without starting from scratch.
The more you repeat the workflow, the more recognizable your work becomes. You learn how your presets respond to different light. You learn how your LUTs behave across footage. You learn where to adjust and where to leave the tool alone.
That is how visual consistency becomes part of your creative business system.
Make the Brand Feel Like One World
The reason to build a preset and LUT workflow is not to impress other editors.
It is to make your work feel like one world.
When someone moves from your photo gallery to your video, from your reel to your website, from your product images to your YouTube content, the visual experience should feel connected. Not identical. Not robotic. Connected.
That connection helps people remember you. It strengthens the brand. It reduces the sense that each piece of content was made in isolation. It gives your work a more mature visual through line.
Presets and LUTs are tools for better creative work. They help creators move faster, build stronger visuals, and create clearer workflows across mediums.
But the taste is still yours.
The tools should support your eye, your story, and the emotional experience you want your work to carry.
Build the visual language first.
Then choose the preset and LUT workflow that helps it show up everywhere.









.jpg)
.jpg)